This is the perfect book lover solution to finally being able to display those lovely pressed flowers you collect while also preserving them. I cover how to make one in this post, but if you’d rather just buy, check out these gorgeous ones to buy.
How to Make a Pressed Flower Bookmark
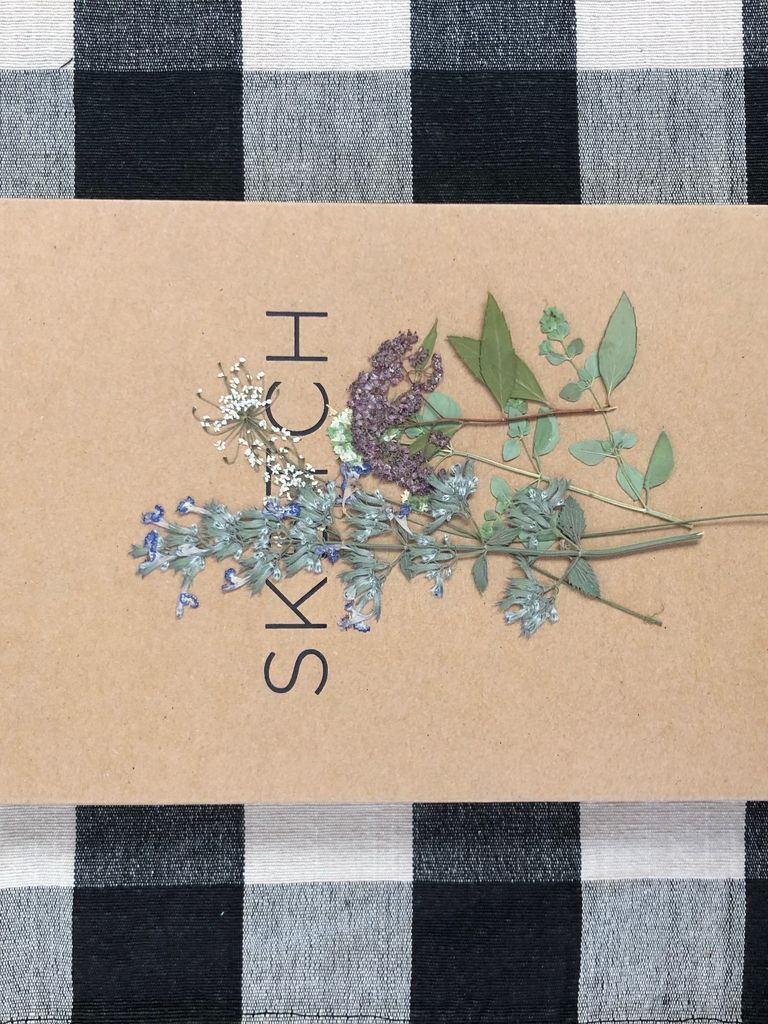
First, you’ll need some pressed flowers. I honestly just had pressed flowers ready to go, because I’m that sort of person, but if you’re starting from the beginning, I recommend packing a notebook with you wherever you go, so you can grab flowers you see! Always make sure they’re not someone’s private property or in a preserve, but if you find a flower you’d like to press, carefully pick it, and place it inside your notebook or book. This is the time you’ll want to arrange the petals and leaves exactly how you’d like them to lay. I find it can be fun to let it be a surprise, too!
1. Press Your Flowers
Close the flower inside the book, and when you get home, place the book on a flat surface, and add some weight on top. (I used about eight hardcover books.) Then comes the waiting game! My flowers have been sitting since last summer, so about six months, but if you want to speed the process up, check out some different methods of pressing flowers quickly here. Once you have pressed your flowers, you’re ready to make your very own bookmark!
2. Get Creative With Placement
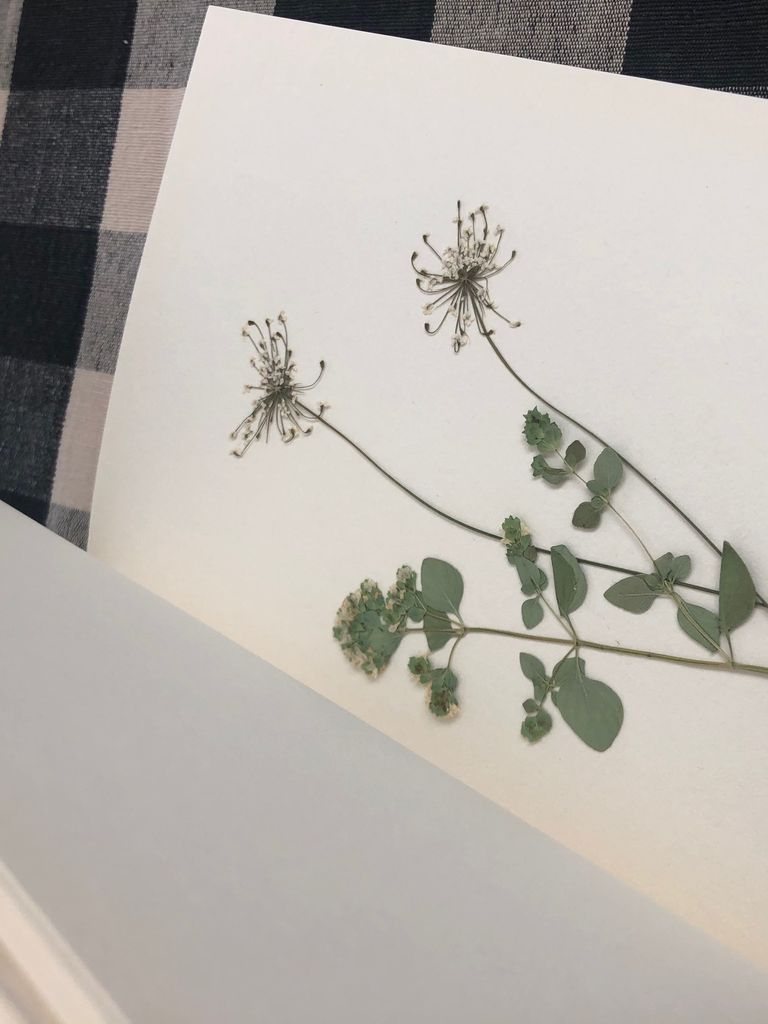
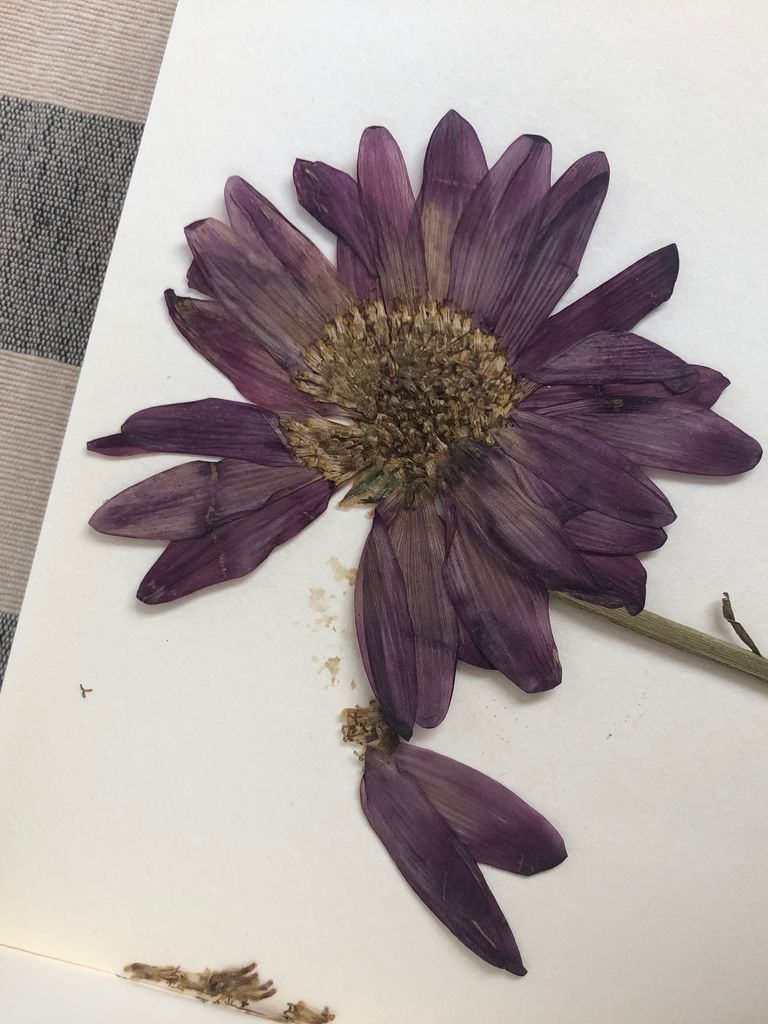
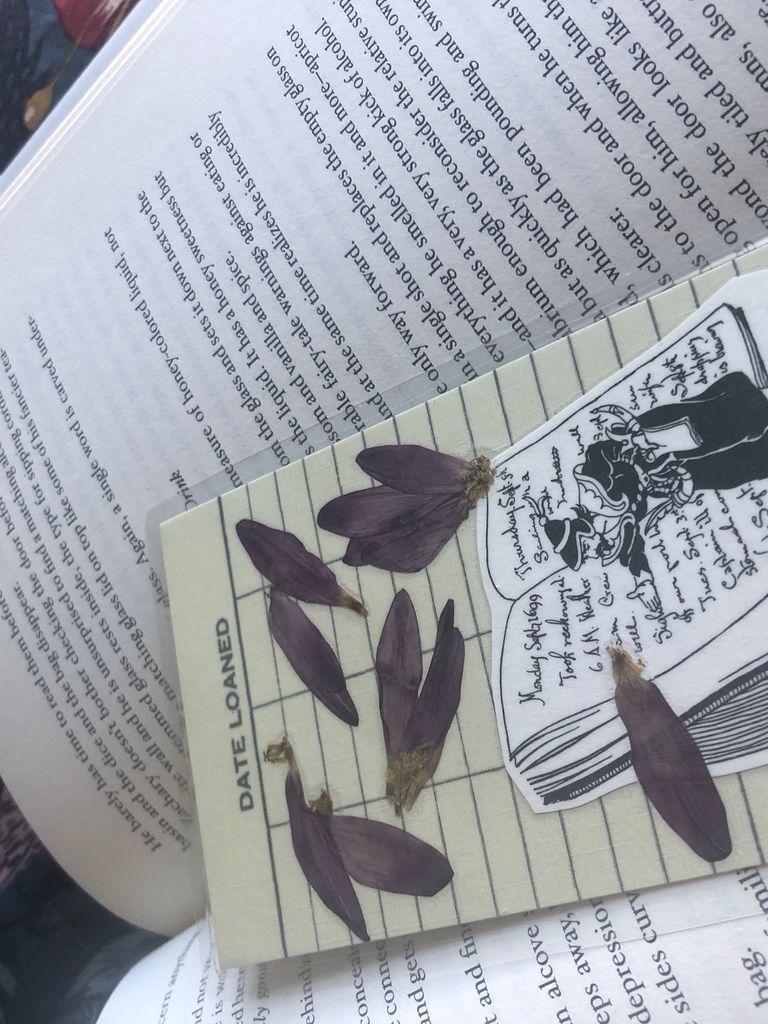
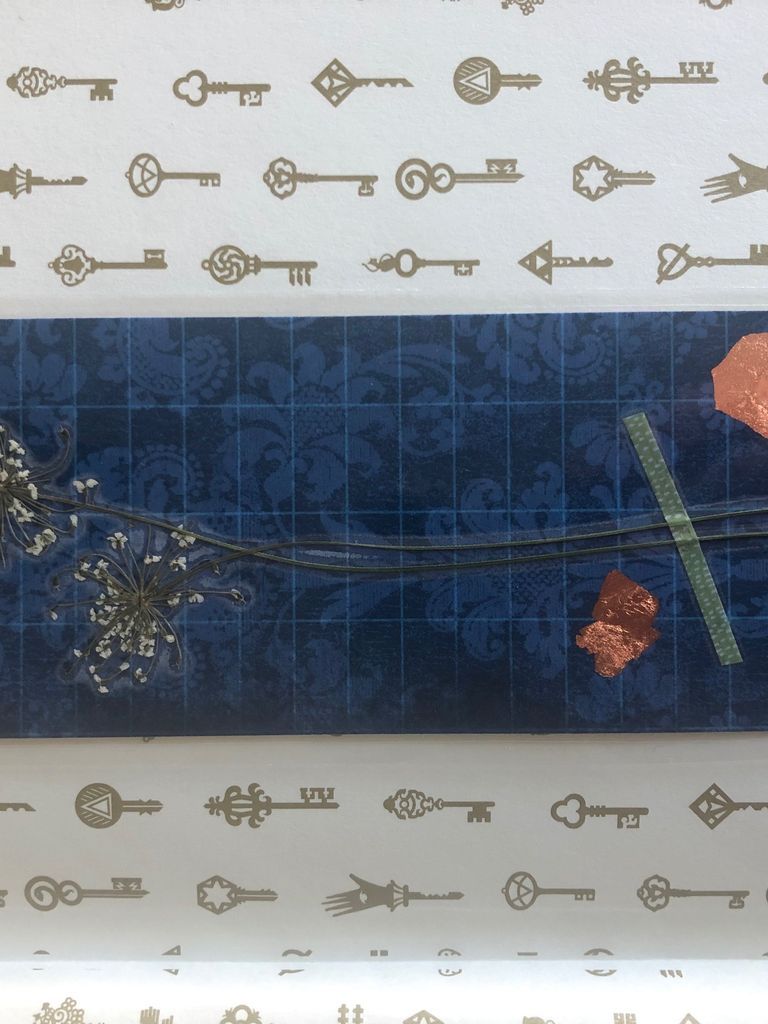
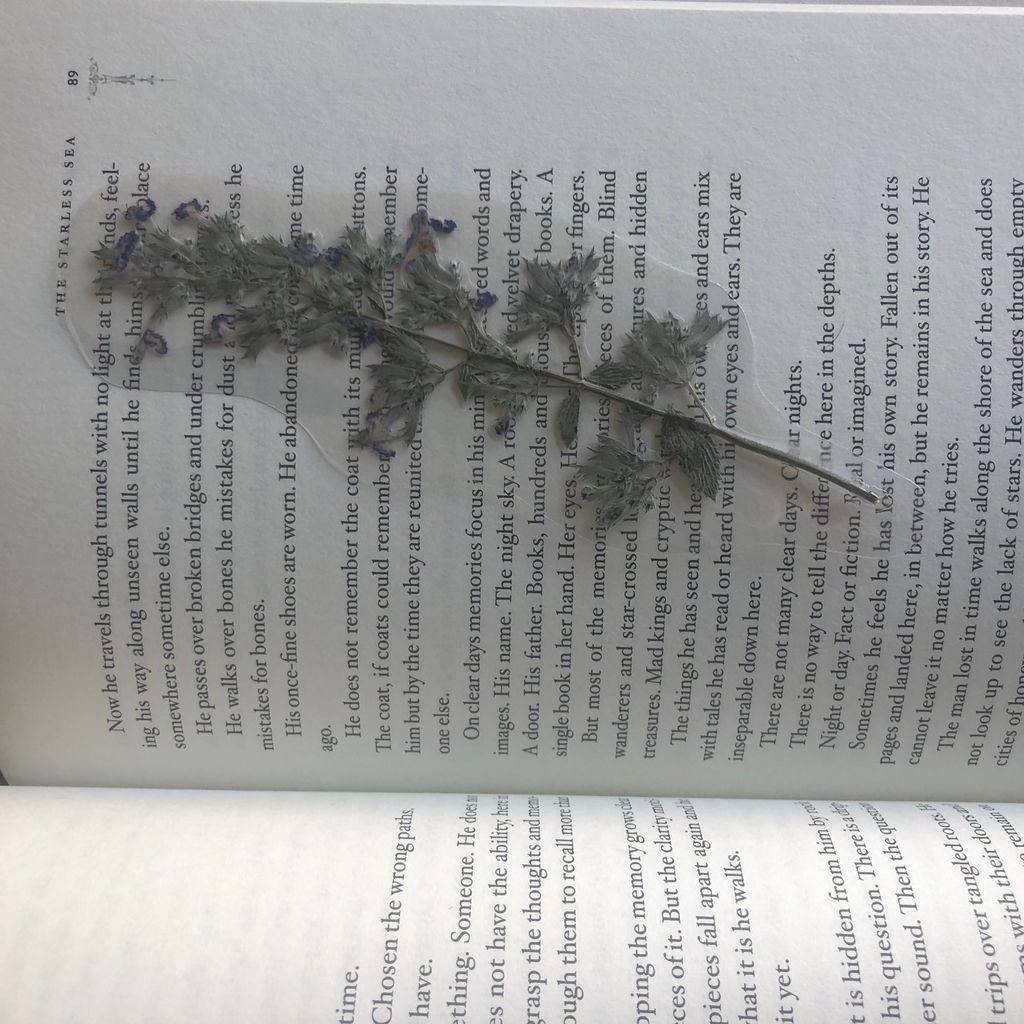
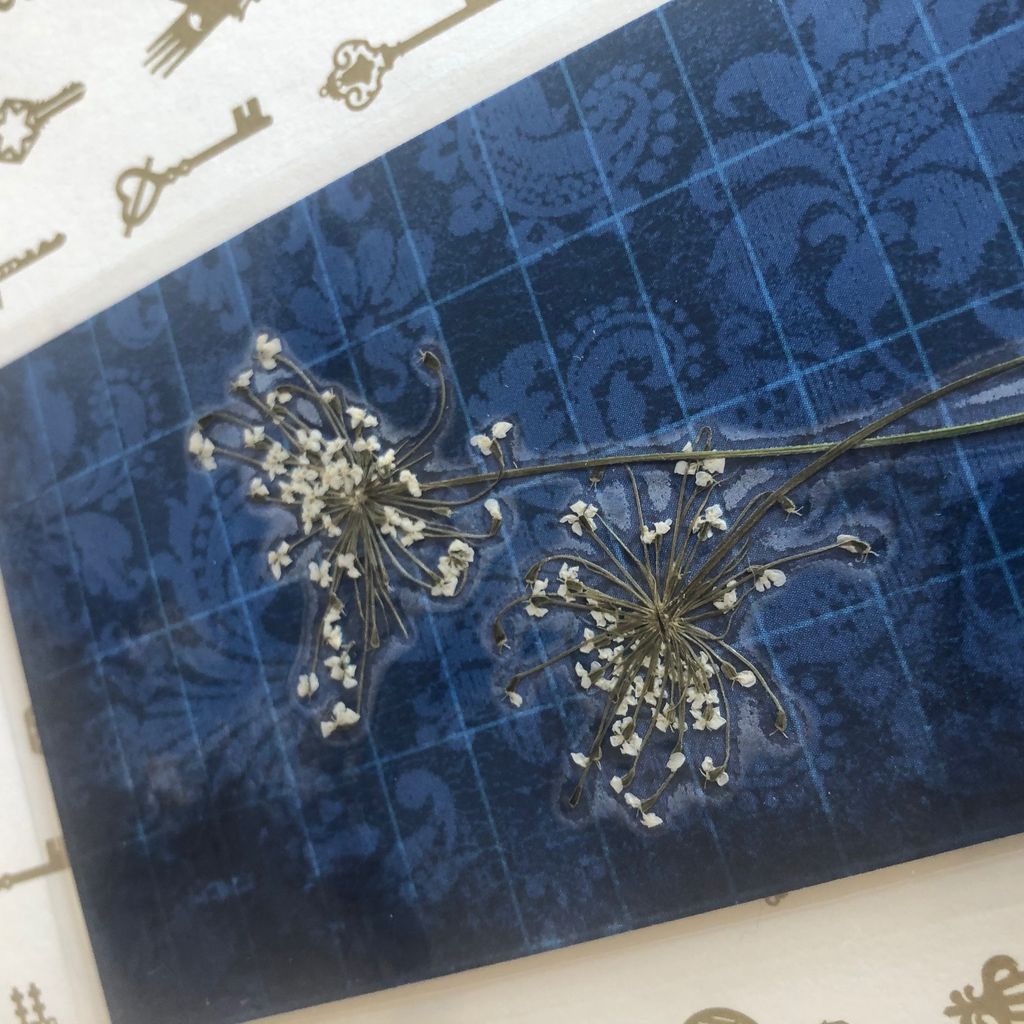
I wanted to make several different kinds of pressed flower bookmarks, so I pulled out all my paper ephemera and got to work. My first plan was to make one bookmark with just the flower on its own, to act as a sort of pressed flower bookmark that appeared like a true pressed flower that was found inside a book. I left the stems I wanted to use for this bookmark inside the sketchbook until I was ready to laminate it. I wanted the other bookmarks I had in mind to be a little different and more like traditional bookmarks. I used washi tape and some paper scraps I had at home (here’s one of my favorite places to get lovely paper bits) to arrange the flowers on a paper background. One of my flowers had petals falling off when I opened the book—if that happens to you, don’t panic! Instead of using the whole flower, I knew I could use the petals in a really lovely way to still create a pressed flower bookmark that looked a little bit different.
3. Set Up Your Backing
Carefully arrange your pressed flowers or petals in whatever manner you wish on a piece of paper. I didn’t measure my paper at all; I just cut it to be the size that I wanted my bookmark to be, making sure it was bigger than the flowers themselves. I also used a library card for one! Get creative! Newspapers, old book pages, and other random paper scraps can make for beautiful upcycled bookmarks. Use adhesive tape or glue (I recommend acid-free) to carefully make sure all your items stick if you can. For my thinner flowers, I instead chose to use washi tape to hold them in place instead of using glue.
4. Get Laminating!
Once I had all my flowers and paper pieces arranged exactly how I wanted them, it was time to laminate! Lamination allows for your flowers to still be seen and will protect them from bending and breaking. I do not have a laminator machine at home, so I placed my bookmarks back inside my sketchbook for safekeeping, and headed to my local library (thank your librarians, everyone!). There, they helped me place each bookmark in a lamination pouch and feed it through the machine. Be aware that if you are laminating pressed flowers on their own or even attached to paper, some leaves, stems, or petals may shift! This happened to one of mine, but I’m still really pleased with how they turned out. Go slowly and be patient when feeding your bookmarks through the machine to help reduce the chances of this happening. The final step is to cut around your flowers or paper for your bookmark. I left about a quarter inch of space around all edges to ensure the lamination stayed intact. And voilà! You have made your own pressed flower bookmark! This is a great rainy day, quarantine activity for everyone, so get outside, find some flowers, and get pressing!