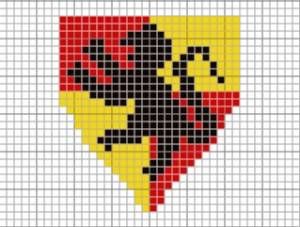
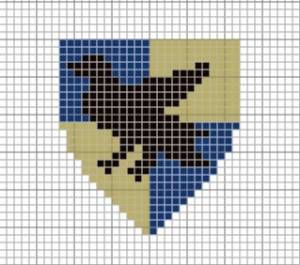
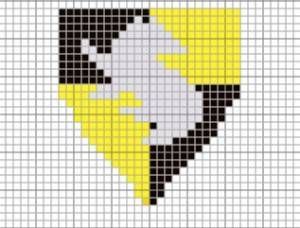
Supplies needed: Embroidery floss in your house colors (DMC brand is nice) Aida cloth, or any fabric with an easily visible weave, about 5″x5″Scissors A sewing needle
Select your thread colors and measure out a length from your fingers to your elbow (any longer and your thread is likely to snarl.)
Pick your starting color and separate out two of the six strands — each length will give you 3 of these mini-threads to stitch with.
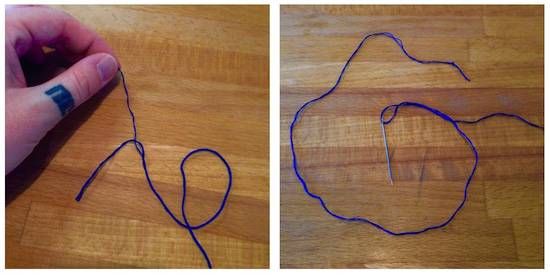
Thread your needle! Then make a nice big knot at the end of the thread.
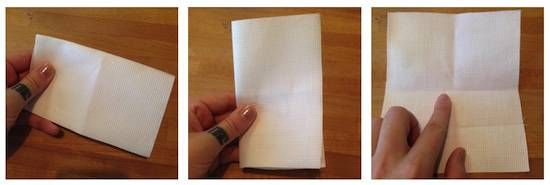
Now crease your fabric in half both ways to find the middle.
Find the center of your pattern. Note the line & pixel you are going to start with. 6. Pull your thread through the fabric, starting from the bottom corner of your chosen pixel. Then make half an X by stitching through the opposite upper corner. You’ll be going back through some of the same holes during this process; don’t leave empty spaces!
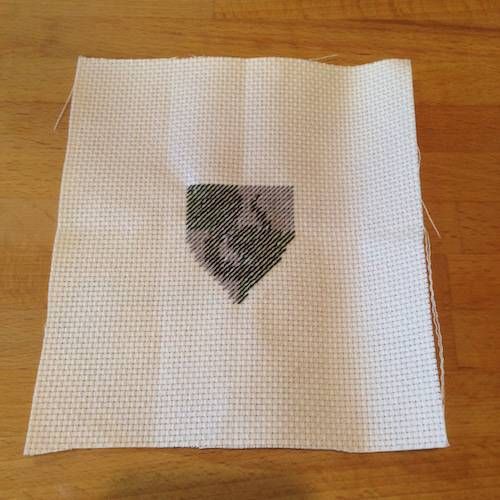
Continue making half-Xs, connecting the bottom lower corner to the top upper, counting your way through the design. By only doing half the X, you lay out your design and make it easy to fix any mistakes.
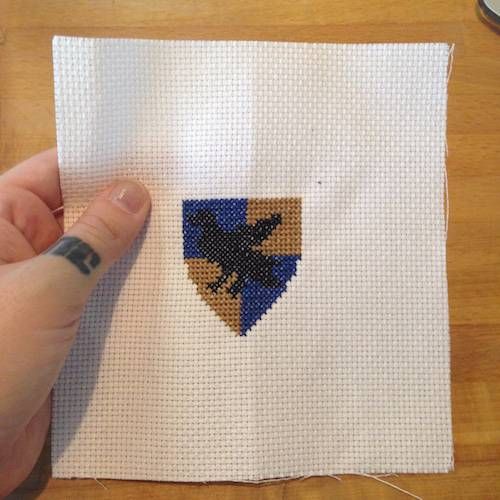
When you have filled in all the pixels of your design with the appropriate colors, give yourself a high five! Now you get to go back the other way, connecting the opposite corners.
Crossed all your stitches? You’re done! Frame it, put it in a hoop, hang it on your wall, and/or give it to a friend. You’re now officially a cross-stitch wizard.
